The latest XanMod kernel based on Linux 7.0 is finally out and brings specific optimizations for heavy workloads instead of just chasing clock speeds. People should exercise caution since drivers from vendors like NVIDIA or VirtualBox might not support this version and could break after a reboot. Getting it running involves adding the custom repository and making sure essential build tools exist so external modules can compile without errors. Keeping a copy of the old kernel in the boot menu is wise practice because things do not always go smoothly during major updates.
First XanMod Kernel Based on Linux 7.0 Delivers Heavy Workload Boosts
The community has been waiting for a first build of the new XanMod kernel based on Linux 7.0 and it is finally here. This release brings specific optimizations for heavy workloads but comes with caveats regarding driver support that users need to know before switching systems. Installation involves standard repository steps but requires attention to DKMS modules to avoid breakage after rebooting.
Performance tweaks in the new XanMod Kernel Linux 7.0 release
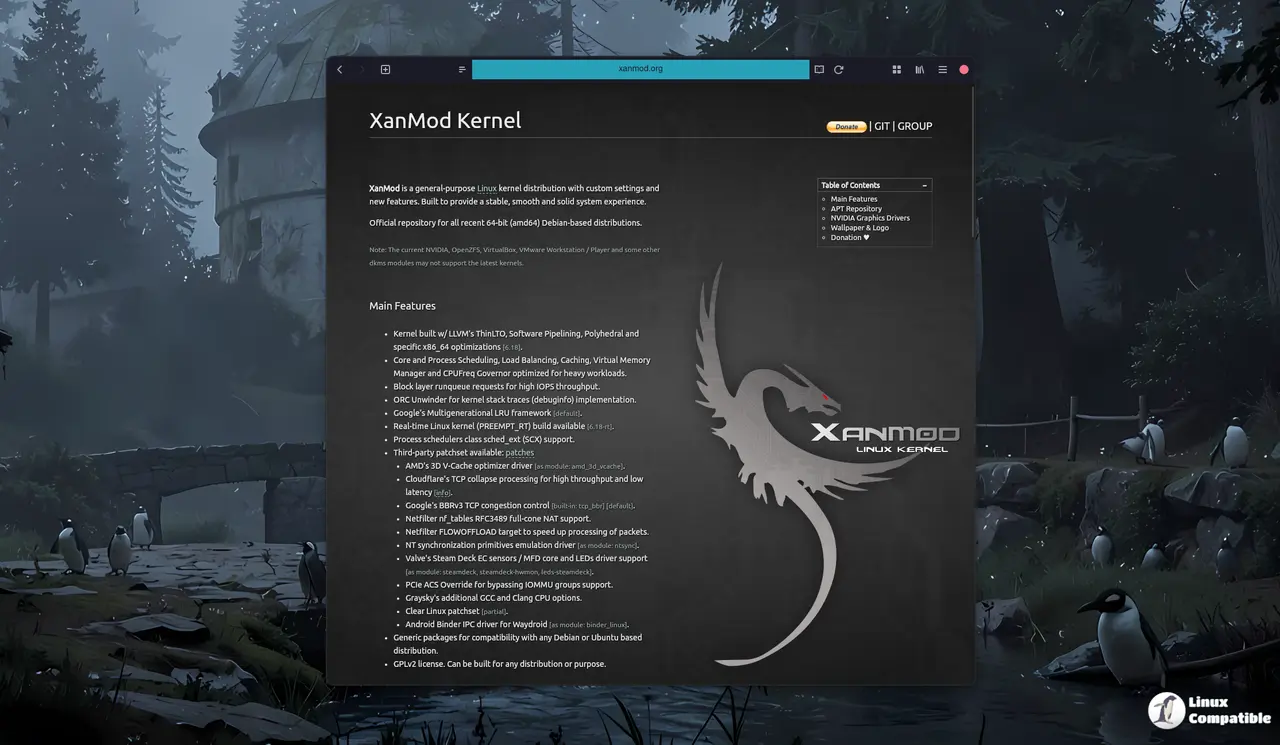
The promise of a faster system is always tempting when major updates roll out. This build includes LLVM ThinLTO and specific x86_64 optimizations that target throughput rather than just raw clock speed. Google's Multigenerational LRU framework ships as the default memory management strategy now which helps with caching efficiency on busy servers. There is also support for process schedulers class sched_ext though this feature remains experimental for some hardware configurations. Real users should note that kernel stack traces are improved via the ORC Unwinder implementation but debugging tools still need specific configuration to work correctly.
Setting up the repository without breaking existing drivers
One common pitfall involves third-party modules like NVIDIA or VirtualBox which often lag behind kernel updates. The release notes explicitly warn that DKMS modules may not support the latest version so users must check compatibility before running the update command. A clean install of dependencies including dkms and clang is recommended to ensure external drivers compile successfully during the process. The installation sequence starts with registering the PGP key followed by adding the repository source to the system list file. After updating package lists the specific linux-xanmod-edge-x64v3 package gets installed alongside minimal build tools if they are missing from the current setup.
First, bring the PGP key into APT’s trust store so it can verify every package that rolls out. Running the command below fetches the key and writes it to the appropriate directory; doing this before adding the repository protects you from man‑in‑the‑middle attacks on the kernel packages.
wget -qO - https://dl.xanmod.org/archive.key | sudo gpg --dearmor -vo /etc/apt/keyrings/xanmod-archive-keyring.gpg
Next, drop a repository file into sources. The line below is already tuned for the distribution you’re on; it automatically expands to the correct codename thanks to lsb_release. Once that file is in place, APT knows exactly where to pull the kernel packages from.
echo "deb [signed-by=/etc/apt/keyrings/xanmod-archive-keyring.gpg] http://deb.xanmod.org $(lsb_release -sc) main" | sudo tee /etc/apt/sources.list.d/xanmod-release.list
Finally, update the package list and install the kernel. The --no-install-recommends flag keeps the installation lean by only pulling essential dependencies; you’ll still need a few development packages if you plan on compiling any external modules later.
sudo apt update && sudo apt install linux-xanmod-edge-x64v3
Just remember to keep a backup of the old kernel just in case things go sideways after the reboot.
