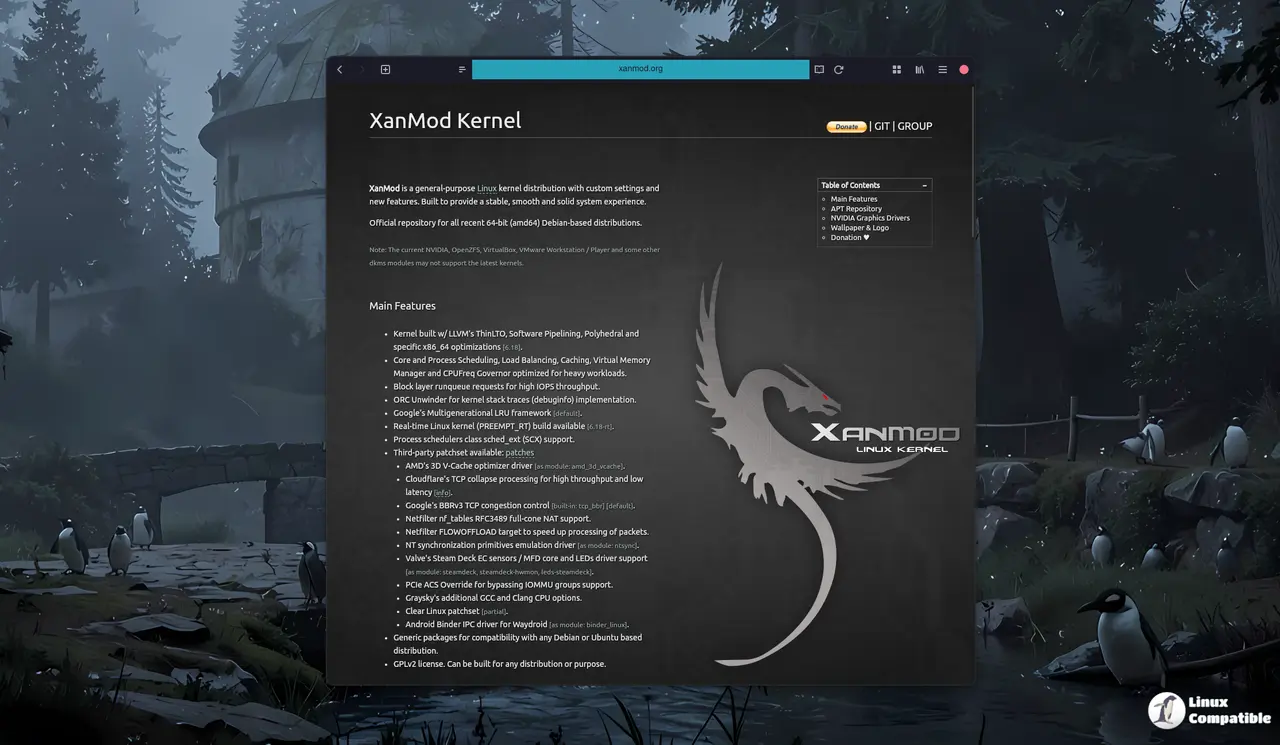
XanMod Kernel 6.18.17 LTS and 7.0.4 Release Brings Real Performance Tweaks for Linux Desktops
The latest XanMod kernel release lands with version 6.18.17 LTS and a fresh 7.0.4 build, targeting desktop users who want smoother multitasking without waiting on upstream updates. This drop packs in scheduling tweaks, better TCP handling, and hardware-specific drivers that actually matter for everyday workflows. Readers will get the straight facts on what changed, which modules to watch out for, and exactly how to swap it into a Debian or Ubuntu system without breaking existing setups.
What Actually Changed in This XanMod Kernel Build
The project has always leaned toward heavy workloads and responsive desktops, and this release keeps that philosophy intact. Google’s multigenerational LRU framework now runs by default, which means the system handles memory pressure much better when juggling dozens of browser tabs alongside compilation tasks or virtual machines. Cloudflare’s TCP collapse processing joins the stack to cut latency during heavy downloads or streaming, while BBRv3 congestion control stays enabled out of the box for faster network throughput. AMD users get a dedicated 3D V-Cache optimizer module that can squeeze extra frames from compatible processors without touching the main scheduler. Valve also pushed Steam Deck EC sensor support into the tree, so handheld enthusiasts and tinkerers can read battery and thermal data directly through standard Linux tools.
The DKMS Warning You Should Not Ignore
Custom kernels always carry a tradeoff, and this one is no exception. NVIDIA drivers, OpenZFS, VirtualBox, and VMware Workstation modules often lag behind upstream releases because they need to compile against exact kernel headers. System administrators often watch helplessly when a routine package manager upgrade bricks a workstation because a proprietary module refuses to compile against a new kernel tree. The XanMod team explicitly flags this limitation, so users should verify module compatibility before wiping out the stock kernel. Running both kernels side by side during testing prevents a boot loop when a DKMS package fails to build.
How to Install the XanMod Kernel Without Breaking the System
Adding the repository requires three straightforward commands, but each step serves a specific purpose that keeps the system secure and functional. First, downloading and importing the PGP key ensures package verification works correctly across future updates. Next, writing the repository line into sources.list.d tells the package manager where to fetch the compiled binaries for Debian or Ubuntu derivatives. The actual installation command pulls linux-xanmod-x64v3, which targets modern x86_64 processors with AVX2 and higher instruction sets. Systems that need external modules like NVIDIA drivers should also grab dkms, libelf-dev, clang, lld, and llvm before rebooting. Skipping those dependencies usually results in failed module builds after the first restart.
First, bring the PGP key into APT’s trust store so it can verify every package that rolls out. Running the command below fetches the key and writes it to the appropriate directory; doing this before adding the repository protects you from man‑in‑the‑middle attacks on the kernel packages.
wget -qO - https://dl.xanmod.org/archive.key | sudo gpg --dearmor -vo /etc/apt/keyrings/xanmod-archive-keyring.gpg
Next, drop a repository file into sources. The line below is already tuned for the distribution you’re on; it automatically expands to the correct codename thanks to lsb_release. Once that file is in place, APT knows exactly where to pull the kernel packages from.
echo "deb [signed-by=/etc/apt/keyrings/xanmod-archive-keyring.gpg] http://deb.xanmod.org $(lsb_release -sc) main" | sudo tee /etc/apt/sources.list.d/xanmod-release.list
Finally, update the package list and install the kernel. The --no-install-recommends flag keeps the installation lean by only pulling essential dependencies; you’ll still need a few development packages if you plan on compiling any external modules later.
sudo apt update && sudo apt install linux-xanmod-x64v3
Those who prefer avoiding repository changes can download the standalone deb files from SourceForge instead. Installing those packages directly with dpkg achieves the same result, though manual updates will require checking for newer versions regularly.
When to Skip This Kernel
Not every Linux setup benefits from a custom scheduler or aggressive memory tuning. Servers running strict compliance requirements, embedded devices with locked bootloaders, and workstations that depend on proprietary firmware blobs often stay safer on distribution stock kernels. The XanMod build shines when desktop responsiveness matters more than absolute stability, but it still follows standard Linux conventions for updates and module loading. Users who prefer real-time scheduling can grab the 6.18-rt variant instead of mixing features into a general-purpose tree.
Give the new build a spin on a test machine first, keep an eye on driver compatibility, and enjoy the smoother desktop experience. Happy tinkering.
