XanMod Kernel 6.19.8 and 6.18.18 LTS For Improved Linux Performance
The team behind the custom builds has released new stable versions of their custom kernels for Debian-based systems based on the latest Linux Kernels 6.19.8 and 6.18.18 LTS. These updates bring specific optimizations that might actually make a difference on heavy workloads compared to stock builds found in default repositories. This guide walks through the setup process while highlighting where things usually break before you reboot your system.
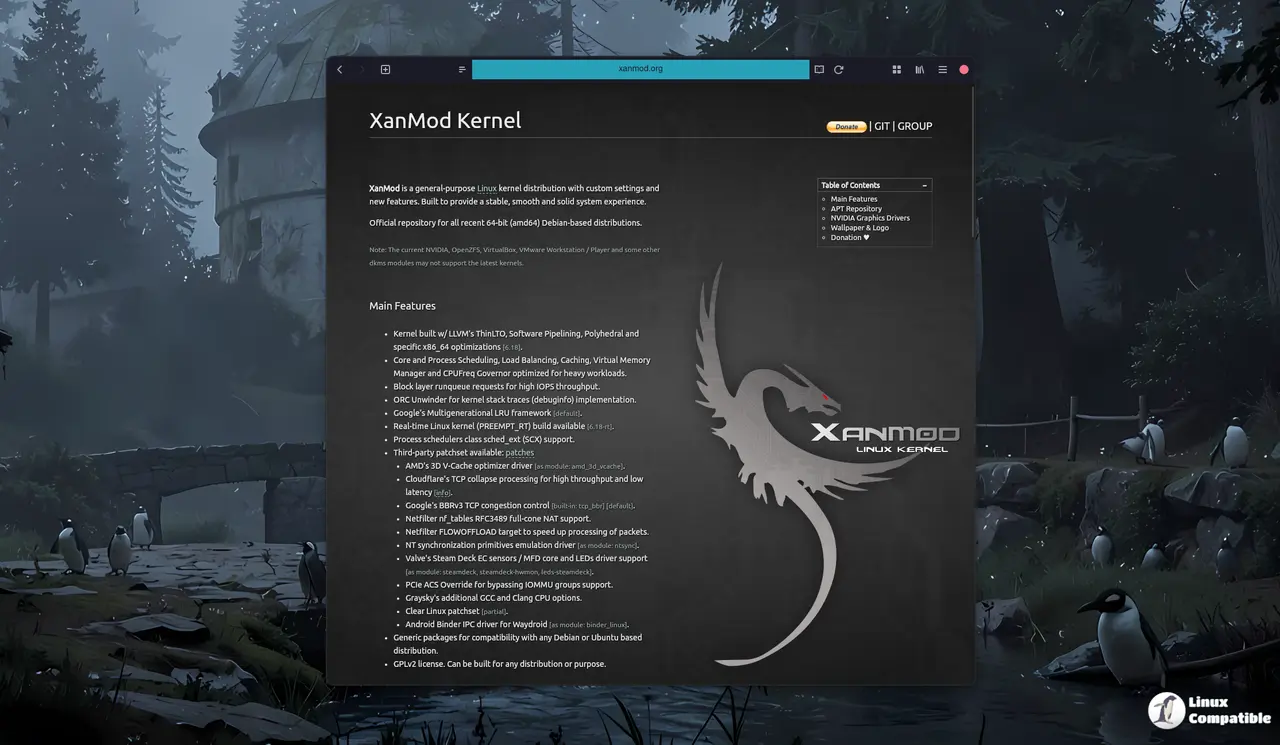
Why Users Prefer XanMod Kernels Over Stock Builds
Most default distributions come with kernel settings tuned for broad compatibility rather than raw speed or latency control. The new builds from this community project include LLVM ThinLTO and specific x86_64 optimizations that tighten up the code execution path significantly. Google's BBRv3 TCP congestion control is built-in by default to help with network throughput, which matters more when streaming data across a busy LAN. Some users report smoother multitasking after switching over, though others find the real-time build too aggressive for general desktop use cases like basic browsing or document editing.
How To Install XanMod Kernels Using APT Commands
Start by fetching the GPG key from the official server to ensure package authenticity during the update process before any installation occurs. The command writes this security certificate into the apt keyrings directory so future installations remain verified without errors or warnings about unsigned packages. Next, add the repository line that matches your specific Debian or Ubuntu codename to the sources list file using a text editor with root privileges. Running an update followed by the install command for linux-xanmod-x64v3 triggers the download and compilation of necessary modules automatically. External DKMS dependencies like clang and llvm must be present beforehand if you plan to keep third-party drivers active during the transition period.
First, bring the PGP key into APT’s trust store so it can verify every package that rolls out. Running the command below fetches the key and writes it to the appropriate directory; doing this before adding the repository protects you from man‑in‑the‑middle attacks on the kernel packages.
wget -qO - https://dl.xanmod.org/archive.key | sudo gpg --dearmor -vo /etc/apt/keyrings/xanmod-archive-keyring.gpg
Next, drop a repository file into sources. The line below is already tuned for the distribution you’re on; it automatically expands to the correct codename thanks to lsb_release. Once that file is in place, APT knows exactly where to pull the kernel packages from.
echo "deb [signed-by=/etc/apt/keyrings/xanmod-archive-keyring.gpg] http://deb.xanmod.org $(lsb_release -sc) main" | sudo tee /etc/apt/sources.list.d/xanmod-release.list
Finally, update the package list and install the kernel. The --no-install-recommends flag keeps the installation lean by only pulling essential dependencies; you’ll still need a few development packages if you plan on compiling any external modules later.
sudo apt update && sudo apt install linux-xanmod-x64v3
Critical Warnings For NVIDIA And Virtual Machine Users
Owners of proprietary graphics cards need to check driver compatibility because recent kernel updates often break DKMS modules for NVIDIA, OpenZFS, or VMware Workstation installations. The repository provides a separate non-free section that supports the latest open and proprietary drivers up through version 590.48.01 depending on GPU architecture generation. Older Maxwell or Pascal cards require specific legacy packages without the open suffix to function correctly after the kernel swap occurs. A full system reboot is mandatory to load the new scheduler logic, otherwise all optimizations remain inactive until the next boot cycle completes.
Good luck with the switch and keep an eye on your logs if things get weird after the restart.
