XanMod delivers a snappier desktop experience by defaulting to optimizations like LLVM ThinLTO and Google's BBRv3 TCP control. Setting up the system requires adding the official repository or manually installing .deb files from SourceForge for those avoiding third-party sources. NVIDIA owners need to select specific driver versions based on their GPU architecture or face a black screen upon rebooting into the new kernel. Power users willing to troubleshoot module conflicts will find the performance gains worth the extra setup time.
Install XanMod Kernel for Better Performance on Debian and Ubuntu Systems
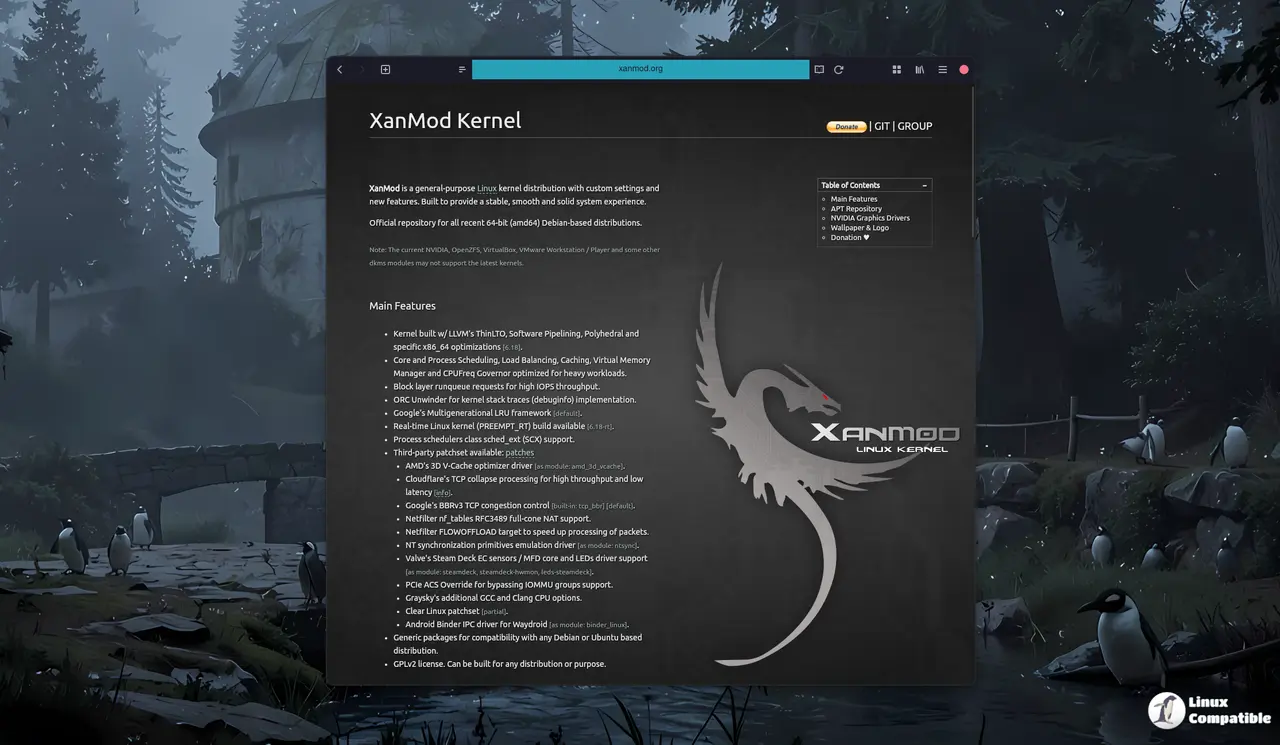
The latest updates to the XanMod kernel bring significant tweaks for desktop responsiveness and heavy workloads. This guide covers how to safely switch from a standard distribution kernel to version 6.19.10 or the stable 6.18.20 LTS release. Readers will learn about potential driver conflicts and the specific commands needed to get everything running smoothly.
Understanding the XanMod Kernel Features
The XanMod kernel is not just a standard update but a collection of patches designed for speed. It includes LLVM ThinLTO optimizations and Google's BBRv3 TCP congestion control by default. These changes help with heavy workloads and improve network throughput without requiring manual configuration. However, the aggressive scheduling tweaks mean that some older hardware might behave differently than expected. Users should expect a smoother desktop experience but must verify stability after the initial boot.
Setting Up the Repository for Installation
Adding the official repository ensures that updates remain available through standard package managers. The process begins by registering the PGP key to verify the authenticity of incoming packages. Next, the system needs a source list entry pointing to the correct Debian or Ubuntu codename. Once the sources are updated, installing the linux-xanmod-x64v3 package applies the optimized build for modern processors. It is wise to install minimal dependencies like dkms and clang beforehand to avoid build failures later.
First, bring the PGP key into APT’s trust store so it can verify every package that rolls out. Running the command below fetches the key and writes it to the appropriate directory; doing this before adding the repository protects you from man‑in‑the‑middle attacks on the kernel packages.
wget -qO - https://dl.xanmod.org/archive.key | sudo gpg --dearmor -vo /etc/apt/keyrings/xanmod-archive-keyring.gpg
Next, drop a repository file into sources. The line below is already tuned for the distribution you’re on; it automatically expands to the correct codename thanks to lsb_release. Once that file is in place, APT knows exactly where to pull the kernel packages from.
echo "deb [signed-by=/etc/apt/keyrings/xanmod-archive-keyring.gpg] http://deb.xanmod.org $(lsb_release -sc) main" | sudo tee /etc/apt/sources.list.d/xanmod-release.list
Finally, update the package list and install the kernel. The --no-install-recommends flag keeps the installation lean by only pulling essential dependencies; you’ll still need a few development packages if you plan on compiling any external modules later.
sudo apt update && sudo apt install linux-xanmod-x64v3
Handling NVIDIA Driver Conflicts
Third-party modules often struggle with custom kernels because they rely on specific headers. The XanMod team notes that NVIDIA, OpenZFS, and VirtualBox may not support the latest versions immediately. Users running Maxwell or Pascal GPUs should stick to the nvidia-driver-580 package without the open suffix. Newer architectures like Turing or Ampere require version 590 of the proprietary modules instead. Ignoring these distinctions can lead to a black screen after rebooting into the new kernel environment.
Manual Installation Without a Repository
Some users prefer downloading the .deb files directly from SourceForge rather than adding a third-party repo. This method involves using dpkg -i to install the image and headers manually before restarting the system. Checking the version via cat /proc/version confirms that the new kernel is active after the reboot. While this approach offers more control, it removes the convenience of automatic security updates through APT.
