How to Install XanMod Kernel 6.8.15 on Debian‑Based Systems Without Killing Your NVIDIA Driver
The 6.8.15 release of the XanMod kernel brings ThinLTO, better block I/O handling and a built‑in BBRv3 TCP congestion controller. This guide shows exactly what needs to be done to get the new kernel running on Debian, Ubuntu or any derivative while keeping graphics working.
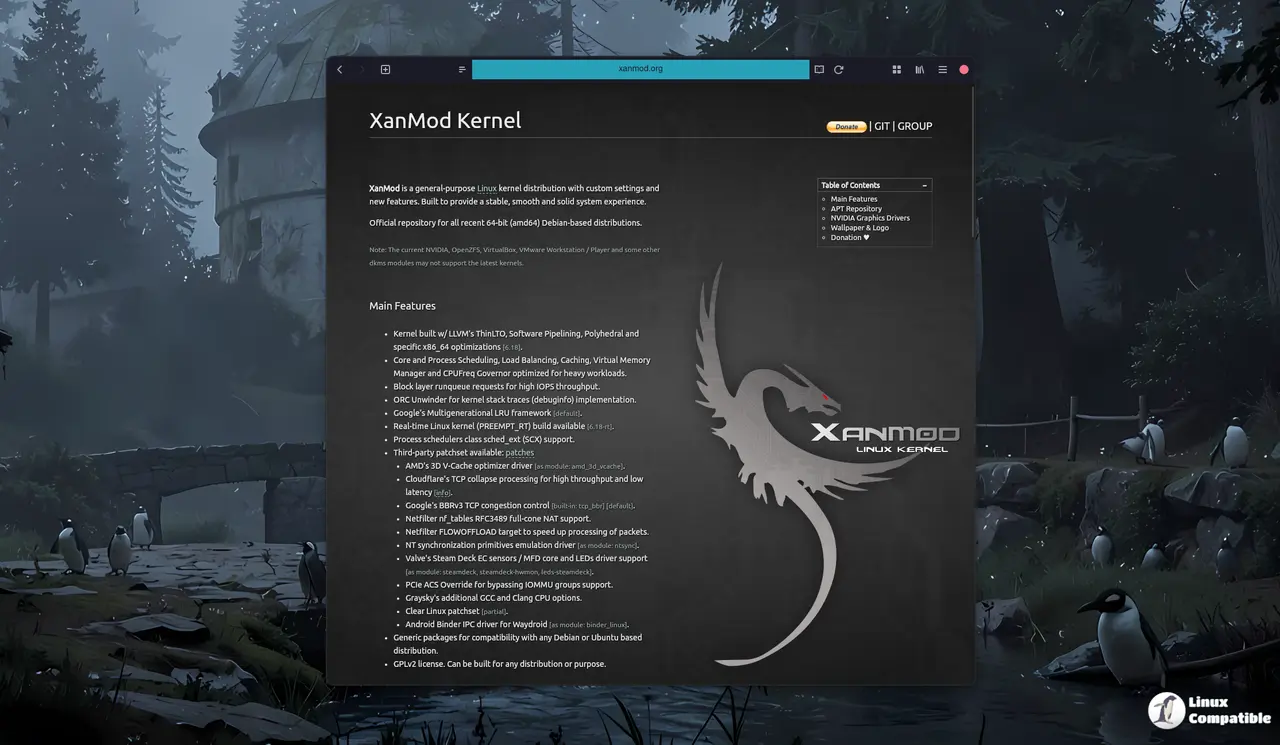
Why bother with XanMod 6.8.15?
XanMod targets heavy workloads – think compilation farms, virtualization hosts or gaming rigs that push the CPU hard. The thin‑LTO build reduces binary size and improves cache locality, while the multigenerational LRU page reclaim cuts latency spikes under memory pressure. Users who have complained about “random freezes after a kernel upgrade” often find the new scheduling tweaks smoother than stock kernels.
Preparing the system – key and repository
The first step is to trust the upstream signing key; otherwise apt will refuse the repository. Running
wget -qO - https://dl.xanmod.org/archive.key | sudo gpg --dearmor -vo /etc/apt/keyrings/xanmod-archive-keyring.gpg
pulls the key and stores it in a location that apt can read. Next, the repository line must be written with the correct codename – `$(lsb_release -sc)` expands to Trixie, Bookworm, Noble or whatever release is installed. The command
echo "deb [signed-by=/etc/apt/keyrings/xanmod-archive-keyring.gpg] http://deb.xanmod.org $(lsb_release -sc) main" | sudo tee /etc/apt/sources.list.d/xanmod-release.list
adds the entry to /etc/apt/sources.list.d. This step matters because a missing signed-by flag will trigger apt warnings and could cause the kernel package to be ignored.
Installing the kernel
After updating the package index, install the main XanMod package withsudo apt update && sudo apt install linux-xanmod-x64v3
The x64v3 variant is built for modern CPUs and includes the extra LLVM optimisations. If external modules such as VirtualBox or VMware are required, they need the DKMS build environment – installing --no-install-recommends dkms libdw-dev clang lld llvm satisfies that dependency without pulling in a laundry list of unrelated packages.
Dealing with NVIDIA drivers
A common pain point is the driver mismatch after a kernel jump. Users who upgraded to 6.8.14 reported “NVIDIA module not found” errors at boot, caused by the DKMS build failing against the new symbol table. The safest route is to pull the matching driver from XanMod’s own repository. Adding the non‑free component can be done withecho "deb [signed-by=/etc/apt/keyrings/xanmod-archive-keyring.gpg] http://deb.xanmod.org $(lsb_release -sc) main non-free" | sudo tee /etc/apt/sources.list.d/xanmod-release.list
and then installing the open driver series:
sudo apt update && sudo apt install nvidia-driver-580-open
The ‑open package builds against the current kernel automatically, while the proprietary nvidia-driver-590 only works on newer GPU generations. If a workstation runs an older Maxwell or Pascal card, stick with the non‑open variant and avoid the 590 series entirely.
Verifying the new kernel
A quick sanity check after reboot is to read `/proc/version`. The output should contain “XanMod” and “6.8.15”. Running `uname -r` confirms the exact package name, which helps when troubleshooting module builds later on. If the system boots into the old kernel instead of XanMod, double‑check that GRUB’s default entry points to `/boot/vmlinuz-6.8.15-xanmod...`.
Known quirks and workarounds
Some DKMS modules (e.g., older VirtualBox) still refuse to compile against the ThinLTO binary; disabling LTO for those builds is the only practical fix. * The built‑in BBRv3 congestion control can clash with custom firewall rules that expect classic Reno behavior – a quick test with `sysctl net.ipv4.tcp_congestion_control` will show which algorithm is active. * If you rely on ZFS, make sure the OpenZFS DKMS package is rebuilt after the kernel install; otherwise the pool won’t mount.
All steps above assume a 64‑bit Debian‑derived system. That’s it – the new XanMod kernel should now be humming along, and the graphics stack stays intact.
