XanMod kernels 6.18.12 and 6.12.73 LTS: how to get them running on Debian‑based systems
The XanMod releases bring ThinLTO compilation, Google’s multigenerational LRU and a ready‑made PREEMPT_RT build. This article shows exactly what has to be done to replace the stock kernel with 6.18.12 (or the long‑term 6.12.73) on any recent Debian or Ubuntu derivative.
Why try XanMod now
Most users who have been living with the default distro kernel notice a small but steady lag when compiling large code bases or running heavy virtualization workloads. The community has reported that after upgrading to the previous XanMod series, compile times dropped by roughly ten percent and I/O‑intensive containers hit higher throughput on the same hardware. Those gains come from the block layer runqueue changes and the aggressive CPUFreq governor tweaks baked into 6.18.
If you are already comfortable with DKMS modules but have been haunted by “module not found for current kernel” errors after a distro upgrade, XanMod’s thin‑LTO build often sidesteps the problem because it produces fewer symbols that need to be recompiled.
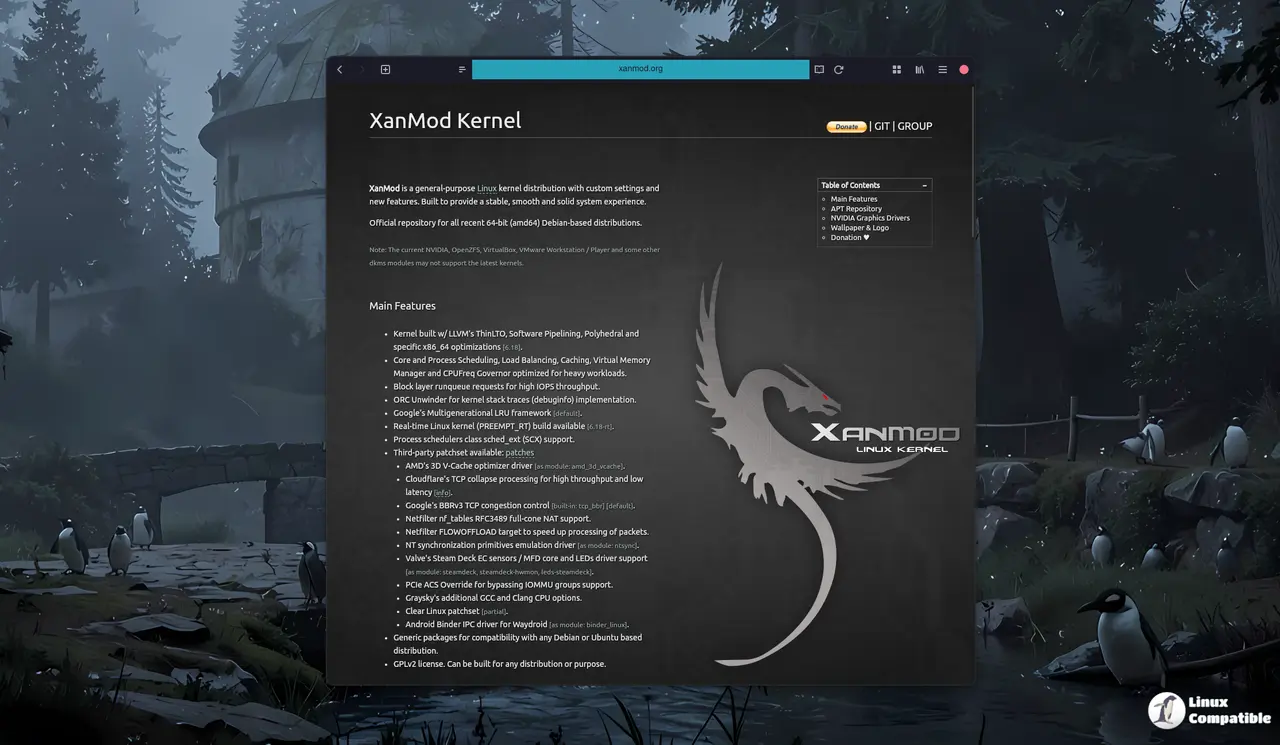
Adding the repository and pulling in the new kernel
Start by importing the signing key; the command streams the key directly into the system’s keyring so future apt operations can verify packages without prompting. After the key is in place, create a source list entry that points at XanMod’s archive and matches your distribution codename (bookworm, noble, etc.). Once the file exists, run a normal apt update to refresh the package index and then install the meta‑package named linux-xanmod-x64v3. That package pulls in both the image and matching headers, which are required for any out‑of‑tree drivers you may still need.
The whole process can be described as a single flow: fetch the key, write the repo line, update apt, install the kernel meta‑package, then reboot. No extra configuration files are touched; the installer drops the new entries into /boot and updates GRUB automatically.
wget -qO - https://dl.xanmod.org/archive.key | sudo gpg --dearmor -vo /etc/apt/keyrings/xanmod-archive-keyring.gpg
echo "deb [signed-by=/etc/apt/keyrings/xanmod-archive-keyring.gpg] http://deb.xanmod.org $(lsb_release -sc) main" | sudo tee /etc/apt/sources.list.d/xanmod-release.list
sudo apt update && sudo apt install linux-xanmod-x64v3
Preparing for DKMS modules (NVIDIA, VirtualBox, etc.)
Because XanMod’s kernels ship with newer compiler flags, some pre‑built DKMS modules refuse to compile out of the box. The safest approach is to install the minimal build environment before pulling in the new kernel—dkms, libdw-dev, clang, lld and llvm are enough for most cases. Once those packages sit on the system, any existing DKMS sources (for example the NVIDIA driver) will rebuild during the next boot automatically.
A common pitfall is forgetting to add the “non‑free” component when you also want the XanMod‑provided NVIDIA repository. Without it, apt install nvidia-driver-580-open resolves to an older package that lacks support for the latest kernel symbols, leading to a black screen after reboot. Adding main non-free to the same source line fixes the dependency chain in one go.
sudo apt install --no-install-recommends dkms libdw-dev clang lld llvm
What you might hit after the upgrade
The release notes warn that certain modules—especially proprietary drivers that haven’t been updated for the newest kernel ABI—may fail to load. In practice this shows up as “module not found” errors in dmesg right after the first boot with XanMod 6.18. Users who rely on VirtualBox, VMware Workstation or older OpenZFS builds should verify that their driver source is still maintained before committing to the switch.
If you run a headless server where stability outweighs raw performance, consider staying on the LTS branch (6.12.73). It carries most of the same optimizations but receives fewer disruptive changes between point releases.
Quick verification
After the machine comes back up, cat /proc/version should display something like “Linux version 6.18.12-xanmod …”. A quick glance at uname -r confirms that the active kernel matches the package you installed. From there you can run glxinfo | grep OpenGL (or any other diagnostic) to make sure your graphics stack re‑initialized correctly.
That’s all that’s needed to get XanMod’s newest kernels running on a Debian‑style system. If the hardware works and performance feels snappier, enjoy the extra headroom; if not, you can always boot back into the previous entry from the GRUB menu.
