Antivirus Live CD 51.0‑1.5.1 – Scan a sick PC without touching its OS
The newest build of the Antivirus Live CD lets you boot any computer, mount every partition automatically and run ClamAV against them. This guide shows exactly how to get the ISO onto a USB stick, fire it up, and pull a clean bill of health from a machine that won’t even start Windows.
What’s actually inside this release?
- Based on 4MLinux 51.0, so the core system is still tiny (under 300 MB).
- ClamAV upgraded to 1.5.1 – newer signatures and faster scanning engine.
- Full Ethernet, Wi‑Fi, PPP and PPPoE support, which means the live environment can pull fresh virus databases the moment it connects to a network.
The “all partitions are mounted at boot” claim isn’t just marketing fluff; it really does mount every detected filesystem (NTFS, FAT32, ext4, you name it) so ClamAV can see everything without manual mounting tricks.
When would you actually reach for this CD?
Imagine a scenario where a Windows update corrupts the bootloader and the machine refuses to start. The user still needs to verify whether ransomware has already encrypted files before attempting any repair. Booting a full‑blown rescue distro just to run an AV scanner feels like bringing a sledgehammer to tighten a screw – that’s where the lightweight Antivirus Live CD shines.
For everyday users who already have a reputable Windows antivirus, this tool is overkill. It excels in two niches:
- Rescue operations on machines that won’t boot or are heavily compromised.
- Quick offline scans of multiple drives from a single USB stick without installing anything on the host.
Creating a bootable USB with UNetbootin (or Rufus)
Download the ISO from the official site – verify the SHA‑256 checksum if you’re paranoid about tampering.
Plug a USB flash drive (4 GB is more than enough).
Open UNetbootin, select “Diskimage”, point to the downloaded ISO, and hit OK.
Why this matters: UNetbootin writes a hybrid image that works on both BIOS and UEFI systems, so you won’t get stuck at the firmware screen.When the process finishes, safely eject the drive. No need for any extra partitioning or formatting tricks.
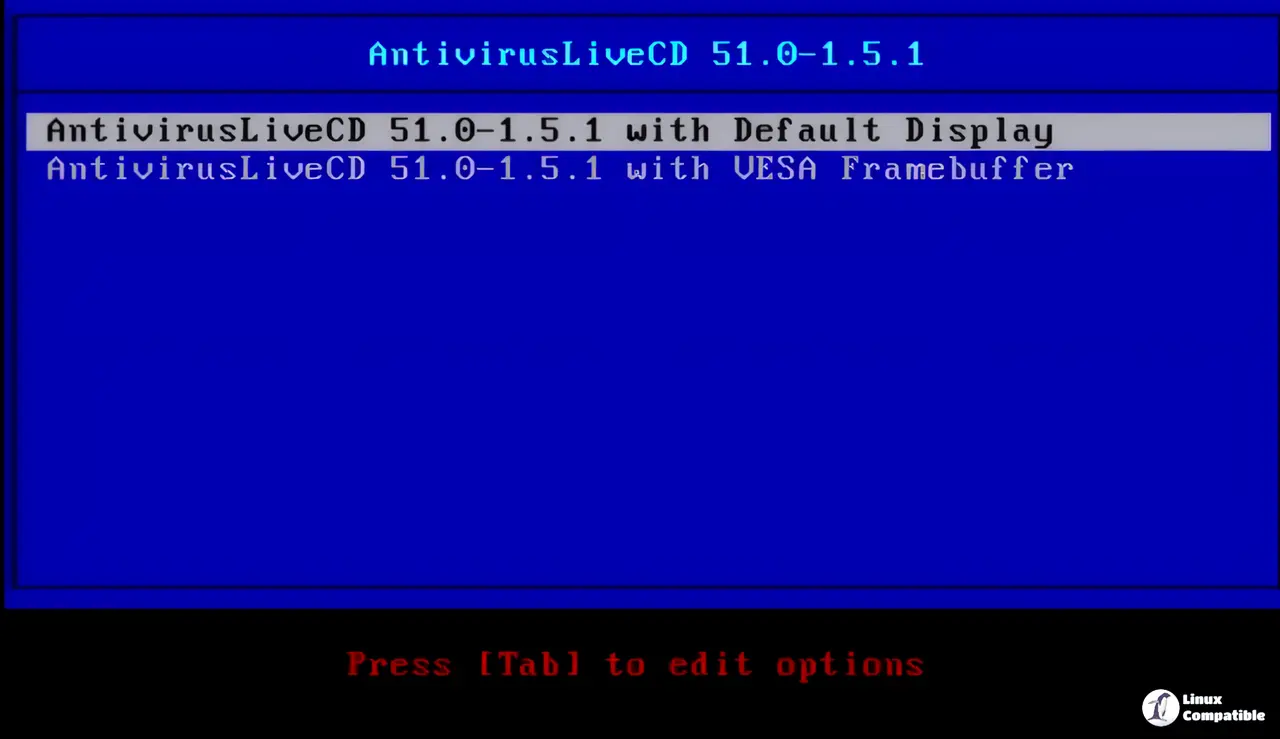
Booting and running a scan
Insert the USB stick into the target PC and reboot. Choose “USB” from the boot menu (or press F12/ESC depending on the motherboard).
The live environment will automatically detect network adapters; select the appropriate one, connect to the internet, and let ClamAV update its database (freshclam).
Why you should wait: An up‑to‑date signature set is crucial – a fresh zero‑day can slip past an old database in seconds.Once the desktop appears (it’s a minimal Xfce session), open a terminal and run:
sudo clamscan -r --bell /mnt
The /mnt point is where all detected partitions are mounted.
4. Review the output; infected files will be listed with their full path. You can delete them on the spot (rm) or move them to a quarantine folder on an external drive.
Gotchas and limitations
- The live CD uses only 256 MB of RAM for its entire operation. On a machine with less than 512 MB, you may see “out of memory” warnings during large scans.
- Wi‑Fi drivers are limited to common chipsets; if the laptop has a rare Broadcom card, it will fall back to Ethernet or stay offline.
- ClamAV is great for known malware but can’t catch every Windows‑only rootkit that hides in the registry. Pair this scan with a dedicated Windows rescue tool if you suspect something more sophisticated.
Bottom line
Antivirus Live CD 51.0‑1.5.1 isn’t a replacement for everyday endpoint protection, but it’s a solid, no‑install option when a system is already on its last legs. The auto‑mount feature saves time, and the ability to pull fresh signatures over Wi‑Fi makes it usable in most real‑world rescue scenarios.
Give it a spin the next time a friend brings a “dead” laptop to the kitchen table – you’ll thank yourself for not having to reinstall Windows just to run an AV check.
